Description
How to install with a minimum of tools and materials.
Step 1: So first off, let’s lay out the tools you’ll need:
Tools: – Power Drill – Drillbits (1/16″-3/16″) < 0.2″ – Tape Measure – Tape – Bench Vise with padding – As always, a gun vise is preferable – Su-er-gl-ue – Paper towels – Dremel with cutting head
Step 2: Mount Your Gun in the Vise
This step is pretty straightforward. Flip your gun upside down, with the trigger guard facing upwards.
Step 3: Measurements
Here’s where the tricky part comes in. Measurements will vary depending on the rifle you are using.
Step 4: Front End Installment
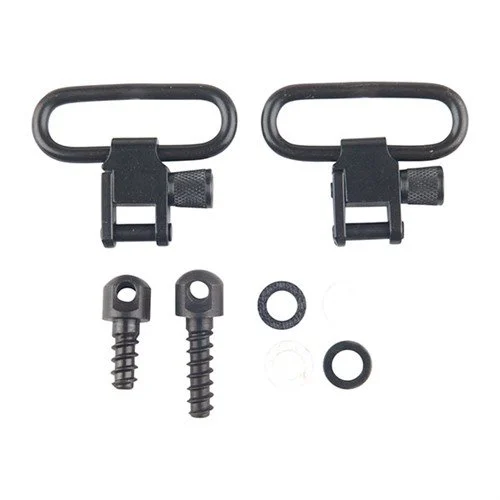
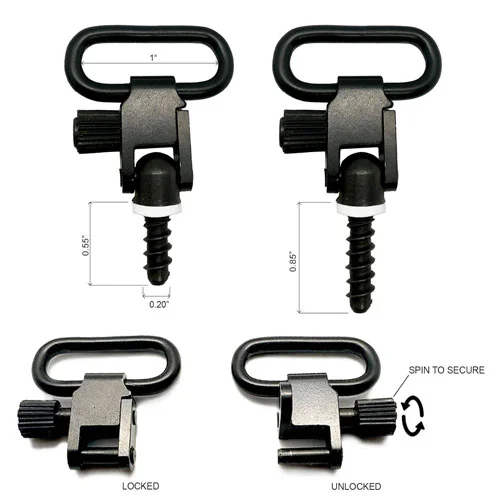
Important! Before you drill, you need to make one more measurement. In your kit should be two screws for mounting the swivels. The shorter one is for the front swivel mount. MAKE SURE THE SCREW IS NOT LONGER THAN THE STOCK IS DEEP!
Step 5: Drilling the Fore End.
Now, you are going to want to be very careful when you start drilling into the wood, as it can crack very easily. A hole punch can be handy to give your bit a place to start, or you can simply hit a drill bit lightly with a hammer to indent the wood.
Step 6: Drill the Rear Hole
Now, we pretty much follow the same process as before, but we will be drilling to a depth of a little over 3/4″ in the stock. Again, be very slow and
gradually increase the bit size.
Step 7: Installing the Screws
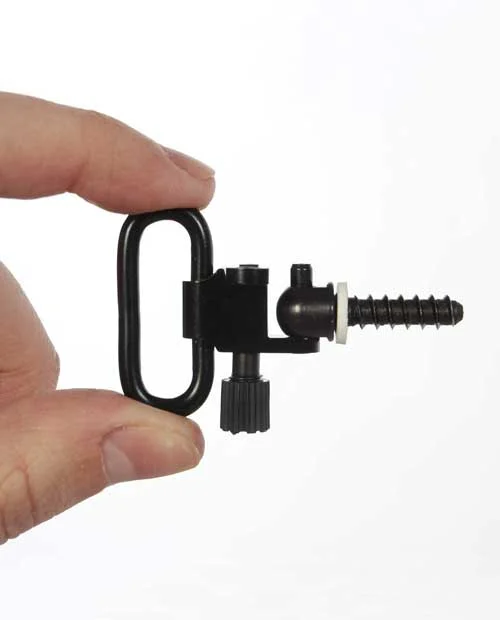
Place the screw in the hole, making sure to have the small washers installed if you have them. Insert a drill bit or small screwdriver into the hole in the head of the screw, and twist it until it is firmly emplaced.
Step 8: Swivel and Sling Installation
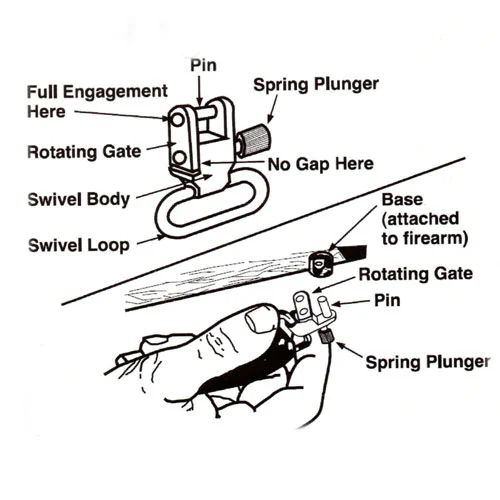
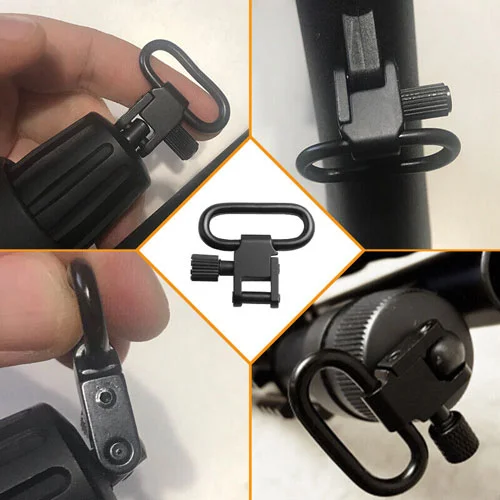
Now, you’re finally ready to install the actual swivel and rig a sling.


Reviews
There are no reviews yet.